

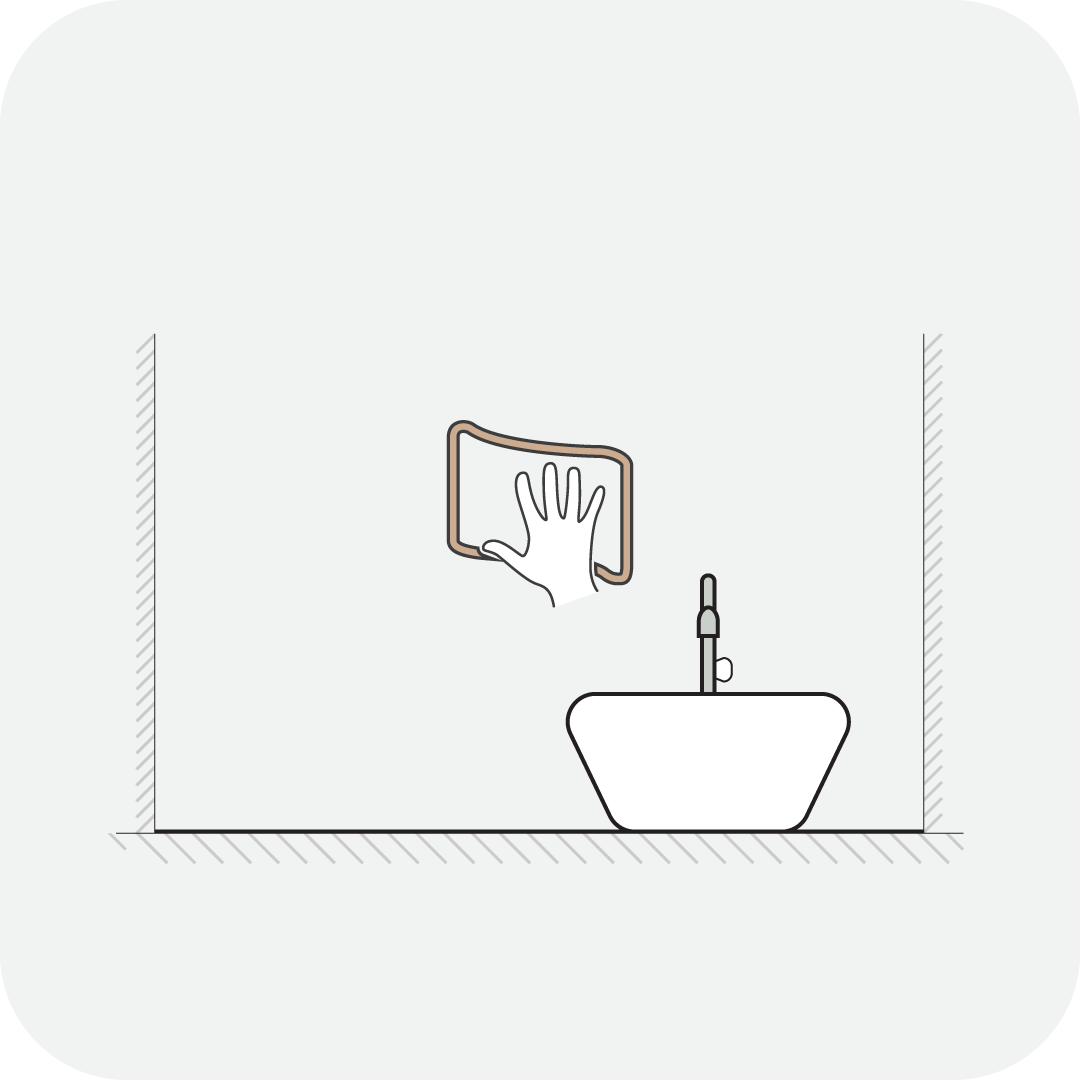
1. Clean the surface with a degreasing agent such as TSP.
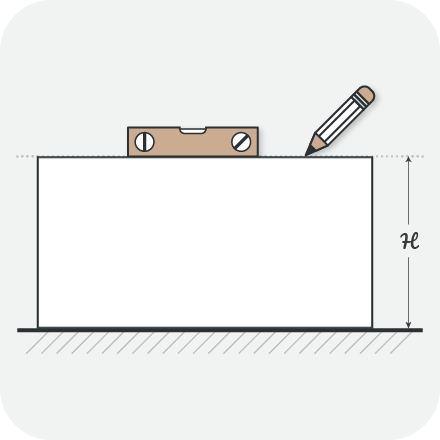
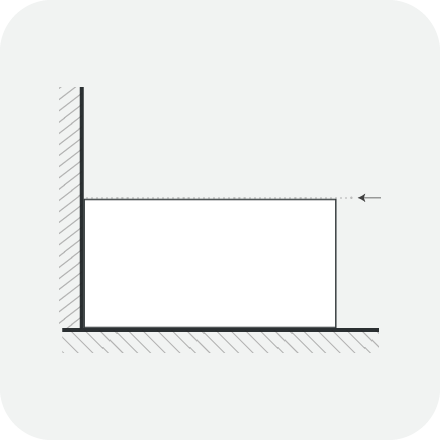
2. On a flat and clean surface, draw a straight horizontal line with pencil to mark where the top of your tile will line up to.
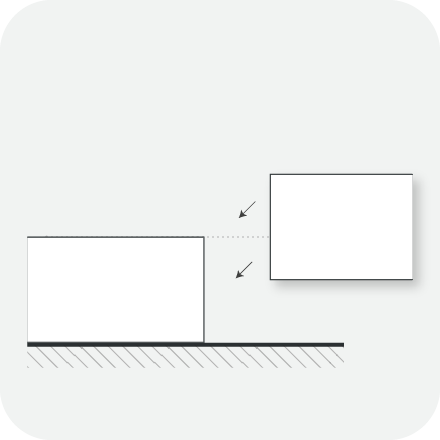
3. On the first tile of the row, cut the left excess using a box cutter.
4. Remove the protective film from the back of your tile and apply the tile to your wall on the horizontal line that you marked.
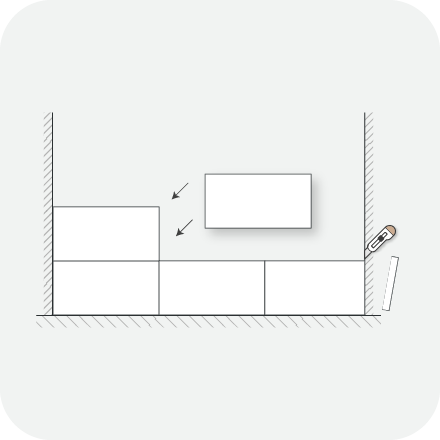
5. Apply one tile after another assuring that the tiles are straight and overlapped.
6. After 48 hours, your Smart Tiles have now become permanently applied to the wall. All you have to do now is sit back and enjoy!
Video Tips


